Serve Scaled Images: Improve Your Site Performance
Serve scaled images are a simple, but powerful way to speed up website loading.
Are you intrigued by the way? In this article, you will learn the steps, both manually and automatically. Enjoy listening!
What are Serve Scaled Images?
To understand serving scaled images, you need to know the meaning of scaled images first.
Scaled images are images, the size of which is specified in the HTML or CSS code of the theme. Therefore, serve scaled images are adjustments in the size of the uploaded image to fit the dimensions.
This is very useful for website performance. The problem is, sometimes, webmasters or developers forget to implement it.
For example, the pages on your site need thumbnails of 200 x 200 pixels. While the image you uploaded is 1,000 x 1,000 pixels.
There will be no problems when you upload it. However, the visitor’s browser must shrink its size before it can display it. This will increase the time needed for the site pages to load fully.
Surely you want to load the site faster, right? For that, let’s look at the steps of serving scaled images in the next section.
How to Serve Scaled Images on WordPress Manually
There are several steps you need to do for the server scaled images on WordPress, namely:
- Analyzing website.
- Shrink the image on the website.
- Check changes in website performance.
1. Analyze Your Website
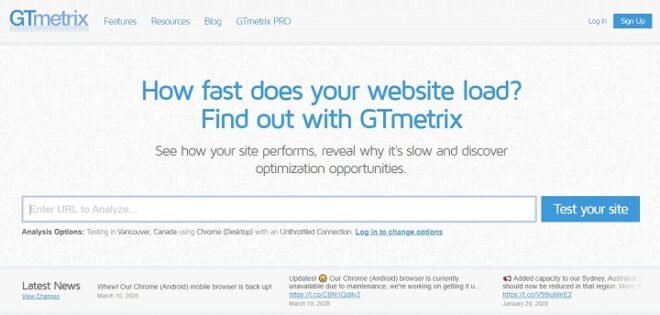
It’s difficult if you have to check the dimensions of the image on your website. Therefore, use a tool like GTmetrix to check it automatically.
First, type your site’s URL in the field available on the GTmetrix main page and click Test Your Site. The test results will appear in a few moments.
Second, click the PageSpeed tab on the test results and click the Serve Scaled Images section. This section will display image URLs that need to be minimized.

Third, copy the list of URLs along with the recommended size for each image. With this, you are ready to serve scaled images.
2. Shrink the Image on the Website
There are various ways to compress the image of your site. However, in this guide, we will only discuss three ways, namely:
- Through the Media Library
- With the Editing Tool
- With WordPress Media Settings
Shrink Images in the Media Library
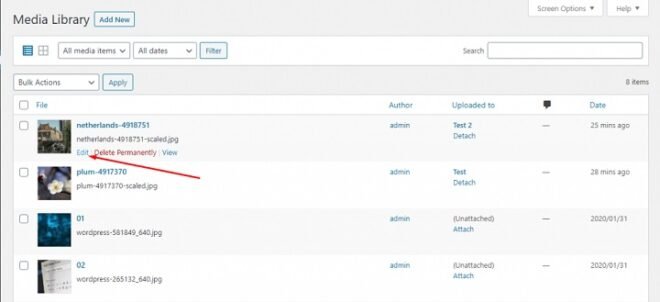
First, click Media> Library in the WordPress Dashboard. This page displays all image files that have been uploaded to your WordPress.
Of course, looking for images that need to be scaled down from many files will trouble you. You can type the URL in the search bar in the upper right of the Media Library.
After that, all you have to do is click the Edit button, as pointed by the arrow in the image below.
Second, scroll to the image preview page and click the Edit Image button designated in the following image.
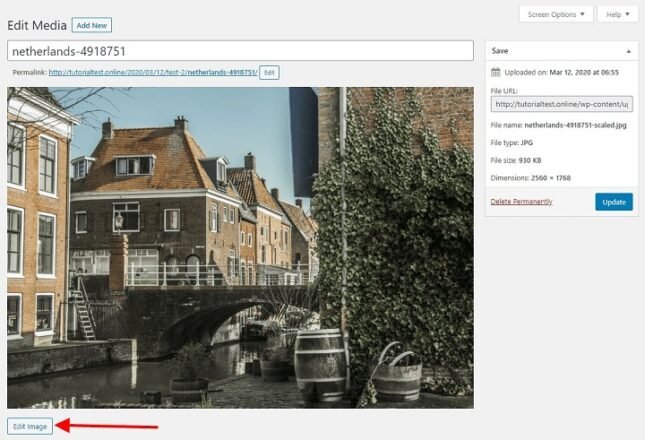
After entering the Edit Image page, type the recommended dimensions for the image in the Scale Image column. Then, click Scale and Save.

With the Editing Tool
This method is indeed not practical because you have to download images that need to be minimized and upload them again. But it doesn’t hurt if you want to use it for images that haven’t been uploaded.
There are many tools for editing images. For simplicity, we use Paint as an example. Ready? Let’s Begin.
First, click the Resize button that is pointed at the arrow below.
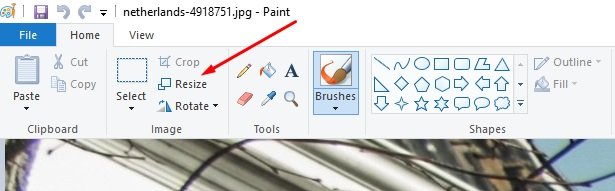
Second, select Pixels and enter the recommended horizontal and vertical dimensions in the column below. When done, click, OK.

Then all you have to do is save the image and upload it.
With WordPress Media Settings
You can also resize images easily in the WordPress Post Editor. As shown in the image below, you just have to choose from four types of sizes: Thumbnail, Medium, Large, and Full Size.
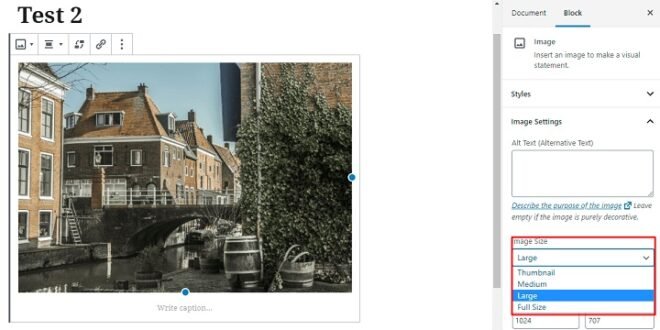
However, the actual dimensions for each type of size may be too large. Fortunately, you can change the dimension set.
The trick, click Settings> Media in the WordPress Dashboard. On the next page, all you have to do is replace the existing number with the recommended GTmetrix.

If so, click Save Changes. Now you can change the size of the image on the blog post or site page through the editor.
3. Re-check Your Site
After minimizing all the suggested images, try testing the website performance at GTmetrix again. When all is well, the serve scaled images section will display the text, as shown in the following screen capture.
How to Use Serve Scaled Images on WordPress with Plugins
The three steps we discussed in the previous section are enough to serve scaled images. However, you can also do this automatically with the WordPress plugin.
Well, one of the famous plugins with that function is Smush.

With Smush, you no longer need to search for image files that need to be optimized again. This plugin will scan the Media Library to find it.
If there is an image that is too large, you will find a message like a screenshot below on the Dashboard.
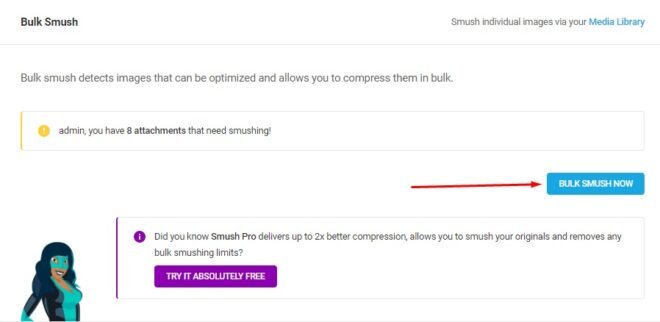
After that, all you have to do is click Bulk Smush Now to optimize everything.
However, the Smush feature doesn’t stop there. You can still reduce the size of the image by changing the plugin settings.
To access the settings, scroll down on the Smush Dashboard until you find the following section:

Of the four settings above, you only need to change the Image Resizing.
By default, image dimensions that are considered too large by Smush are 2560 x 2560. However, you can reduce them as desired. For example, 1024 x 1024.
If so, all you have to do is click Update Settings.
Activate Serve Scaled Images on your WordPress now!
Now you know how easy it is to serve scaled images on WordPress, right? To do this, you just go through a few simple steps:
- Analyzing websites with GTmetrix;
- Minimize images on WordPress or with editing tools;
- And re-analyze website performance.
In addition, you can also do it with the Smush plugin.
Hopefully, this article helps you learn one way to improve website performance. If you have questions, feel free to leave comments in the fields provided below.