
Learn How To Install a WordPress Plugin| 3 Ways
Without additional plugins, WordPress has a very simple function. Plugins allow users to use various features, ranging from e-commerce modules to the admin area. There are thousands of plugins that you can choose for WordPress customization, both of which are available free or paid. In this tutorial, we will discuss three ways to install a WordPress plugin that you can do easily.
What do you need?
Before starting the steps in this tutorial, make sure that you have:
- Access to the WordPress admin dashboard
- Plug-in downloaded on a computer (Option 2)
- Access to FTP (Option 3)
Option 1: How to install the WordPress Plugin Through the WordPress Dashboard
There are more than 46,000 plugins in the current WordPress.org plugin directory. All of which you can download for free. Follow the steps below to find out how to install the WordPress plugin.
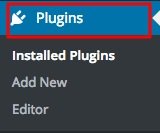
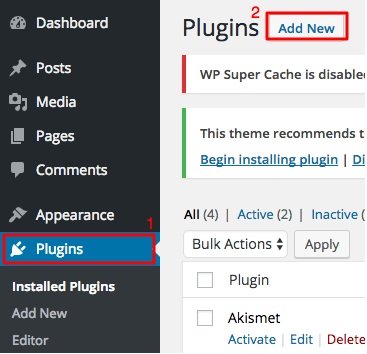
1. Access the WordPress dashboard then select the Plugins menu.
2. Click the Add New button at the top of the page.

3. You can search for plugins by selecting the Popular, Featured, or Recommended tags located at the top of the page. Apart from that, you can also use the search menu. If you already know what plugin you want, please type the appropriate name or keyword in the search field, then press Enter. In this example, we will install the WP Super Cache plugin, which is useful for enhancing the WordPress blog’s speed.
4. After that, please press the Install button on the plugin you want to install.

5. The plugin you just installed is not active right away. Therefore, please activate first by clicking the Activate button.

6. You will see a notification like below if the plugin is active.
Option 2: How to install the WordPress Plugin Manually
The plugin directory is not the only place for you to get plugins. There are many premium plugin providers like CodeCanyon that offer more than 4000 paid plugins. Before following the steps below, you need to have the plugin downloaded to the computer first.
1. On the WordPress admin dashboard, please select the Plugins menu then click the Add New button.
2. After that, please press the Upload Plugin button.

3. On the new page, please click the Choose File button to select the plugin that is on your computer, then click the Install Now button.

4. To activate the plugin and complete the installation process, please click the Activate Plugin button.
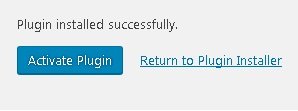
5. In this step, you have successfully installed the plugin and activated it.
Option 3: Use FTP to Install the WordPress Plugin
Another way to install a WordPress plugin is to use an FTP client or File Manager. This method is quite helpful, especially if your hosting provider provides a limit on the size of uploaded files, and you cannot install plugins through the WordPress dashboard menu.
It’s just that this method is not recommended for beginners because they must know the use of FTP or File Manager first. Below are steps to upload the plugin using FTP.
1. Extract the plugin that you previously downloaded to the computer.
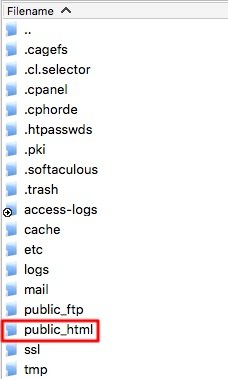
2. Connect to your hosting account using an FTP client and enter the WordPress directory. In this example, WordPress is installed at public_html.
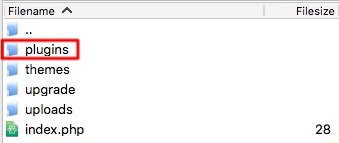
3. Please enter the wp-content directory.

4. Open the plugins folder.
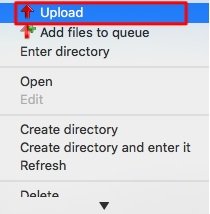
5. Upload the extracted plugin to the plugins folder.
6. After the upload is complete, please open the WordPress admin dashboard and select the Plugins> Installed Plugins menu.
7. After the installation is complete, please activate the plugin by pressing the Activate button.

8. You will see a green notification at the top of the page when the plugin is successfully activated.
Conclusion
The customization offered by the WordPress plugin is almost unlimited. Please add a variety of new features that you want directly on your WordPress website. By completing the tutorial on how to install this WordPress plugin, you now know how to install the plugin in three different ways.
Also Check: 5 Easy Ways To Fix Error 429 Too Many Requests on WordPress