
How to Fix Error 0x80070570 on Windows
How to Overcome Error 0x80070570 – When installing Windows 7/8/10, each process will continue until it is finished. However, sometimes the error message code occurs: 0x80070570 windows cannot install required files/files or directory is corrupted and unreadable. Error code 0x80070570 is a very rare error message on computers, laptops, and tablets with the Windows 10 operating system.
Why Error 0x80070570 Appears
This message usually appears when an error occurs during the initial installation of the Windows operating system or during an update of an already installed operating system. The error message 0x80070570 is also known to appear when moving files from one drive to another. Depending on the specific cause of the error warning, the message text will be different, as it usually describes the problem in detail.
For example, a message might say:
Windows cannot install the required files. Files may be corrupted or missing. Make sure all the files required for the installation are available and restart the installation. Error code 0x80070570
No matter what the warning contains, it always ends with an Error 0x80070570
- Windows 7 installation error 0x80070570
- Windows update KB3116908 failed to install error 0x80070570
- Error 0x80070570: The file or directory is corrupted and unreadable
This error often occurs when we install the OS, update the system or when we access a damaged partition.
Cause of Error 0x80070570
The appearance of error 0x80070570 is usually triggered by a missing or corrupt file. A damaged or corrupted drive can also cause the error 0x80070570 message to appear, as this may prevent your Windows computer from properly reading the required files.
When the error message appears during the installation or upgrade of the Windows operating system, the cause is usually a corrupted installation file which may be caused by a problem on the download server-side or an unstable or weak internet connection on your side.
Well, there are several causes for the error 0x80070570, some of which are:
- Hard disk problems: Common hard disk problems that usually occur such as bad sectors on the drive that we install the system on.
- Registry problems : There is a corrupt registry in the file we are installing
- RAM problems : RAM damage here is almost the same as hard disk problems
- File Error/corrupt : Usually because there is a corrupted or damaged windows file
How to Fix Error 0x80070570
The appearance of this error code is very rare. Even so, that does not mean that there is no chance for this to happen because the cause is sometimes quite difficult to detect. Well, how to solve the error code you can do in the following way.
1. Check Memory with Memtest86

One of the causes of the emergence of error 0x80070570 on windows could be due to memory that is not running normally. Moreover, an error in the RAM is very giving the opportunity for the appearance of the error code. For that, by running memtest86 and booting the flash drive, you can check the state of your laptop’s memory later.
- Download the Memtest86 app
- Extract the downloaded file and then install the data
- Connect the flash on the PC then create a bootable file by clicking Create in the installer section
- Don’t forget to backup data
- Restart the PC then boot the flash drive so that Memtest86 can be run
This first method is important for you to try to check if the RAM condition is normal or there is a problem. If there is a problem, you can try to repair it by cleaning the RAM brass with an eraser or similar tool.
You can also move the RAM position to another slot so that its function returns to normal. So this method is quite simple and effective to solve 0x80070570.
2. Move Files to Different Directory
It could be that the error 0x80070570 windows 10 appears when you want to delete certain files, so moving them in another directory or space can be one solution. The method is also very easy, which is as follows.
- Right click and select copy on the file to be moved
- Create a new folder in a different storage
- Navigate files into a new folder
- Then right click on the folder and click paste
3. Perform Startup Repair
By doing a startup repair, problems such as error codes or corrupted files can be resolved. In addition, problems caused by failed loading, booting, and the like can also be overcome by the startup repair process. Here’s how it can be done.
- For Windows 10, first click the start menu and do Restart
- During the restart, click the Shift key for a while until the PC boots up and the Advanced Startup option notification appears
- Click Troubleshoot then select Advanced
- After that, click Startup Repair
- Wait for the process until the PC turns on because at that time, the Startup Repair process is in progress
4. Perform Windows Update
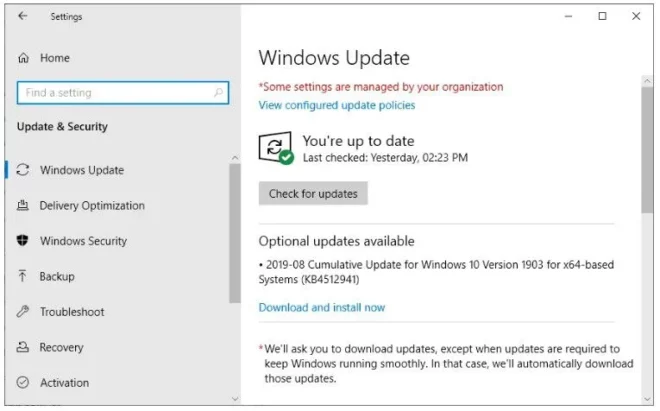
This error mostly also occurs when the update process is running. This often annoys people because the time-consuming process suddenly fails halfway. For that, do the following method.
- Login My Computer
- Go to <Letter>:\Windows\SoftwareDistribution\Download . directory
- Find the folder named a39ba752a8aa7203217c75802d7fddd
- After that, immediately delete the folder
- Restart the computer
- If it’s on, update and reinstall the Windows
- Finally, immediately restart the computer again
when the update process is running make sure all programs are closed rather the connection speed can run more optimally.
5. Disable Antivirus
Some cases of error code: 0x80070570 that occur because the antivirus on the computer recognizes foreign files as viruses.
So the antivirus will run automatically to scan files/files on the computer and will delete files that are considered dangerous, even though they are not.
As a result, there will automatically be default files that are lost or damaged because of this during installation.
6. Doing a Check Disk
To determine if there is damage, you can scan the drive-in more detail by checking the disk as follows:
- Go to Run (Windows+R)
- Write cmd / command prompt
- Go to the directory drive where the installation file is located
- type chkdsk, then enter
Then the system will scan in detail and take a while to complete.
7. Run chkdsk on Windows RE

To try this method, you need to restart the computer and boot with the installation disc. The following sections are step-by-step guides:
- Insert the installation disc into the computer’s optical drive and restart the computer. If you are prompted to press a certain key to start Windows from the installation, press that key.
- Select the appropriate language setting. Then select the option “Repair my computer” whether the disc used is not a system repair disc.
- Select the installation that needs to be repaired and click “Next”, after which the menu will display “System Recovery Options”.
- Click “System Recovery Options” twice to open “Command Prompt” where you have to type “chkdsk /r” and press “Enter”. Wait a few moments until the disk checking process is complete and select Y to restart the computer.
8. Change BIOS settings
In a small number of cases, the error is caused by incorrect settings in the BIOS, for which it is not difficult to change these settings.
- Boot the computer into the BIOS. When the computer boots into the system, you may see an information prompt on the screen, telling you that you can enter the BIOS by pressing a specific key from the keyboard, such as F2. Different computers may require different keys to enter BIOS, please read the information carefully and press the correct key.
- Go to Drives options and select the SATA option. Change “RAID Auto detect-AHCI” to “RAID Auto detect-ATA” and save changes.
- Exit BIOS and try installing Windows again.
9. Use a Different ISO/Installation File
You may encounter error 0x80070570 when something goes wrong with your installation media or files, so you can try downloading the Windows ISO and creating the installation media again to install the Windows system.
Also Check: 3 Ways to Fix VCRUNTIME140d.ddl Missing on Windows